December 2021 Issue Index
Manufacturing high end survey systems
Maptek has been manufacturing terrestrial laser scanners for almost 20 years. Read how we entered the hardware market and the outcome for survey technology.
As we mark our 40-year anniversary in 2021, Maptek also celebrates another important milestone – 20 years since venturing into 3D laser imaging technology.
Mid year we released our latest XR3 and SR3 models, shortly before delivering our 400th R3 scanner. As Australia’s only manufacturer of high end terrestrial laser scanning systems for mining we hold firm to our aim of creating the world’s best.
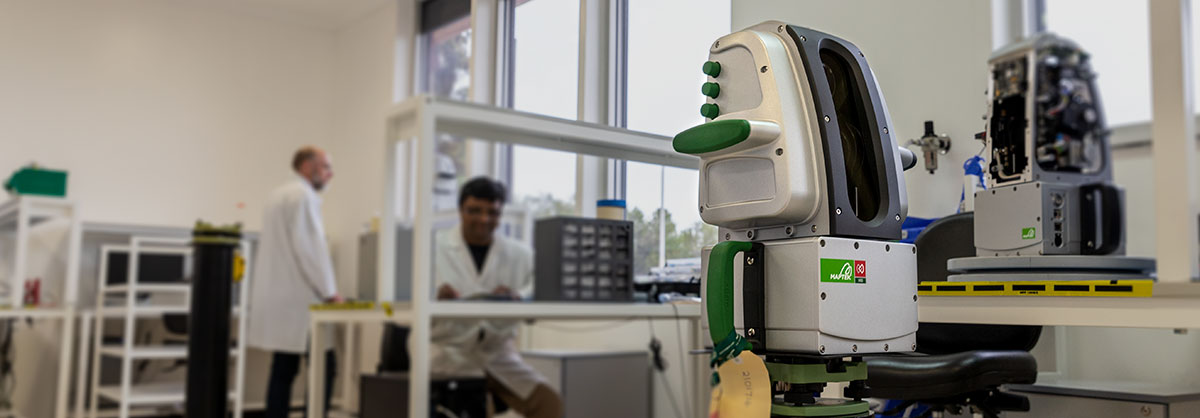
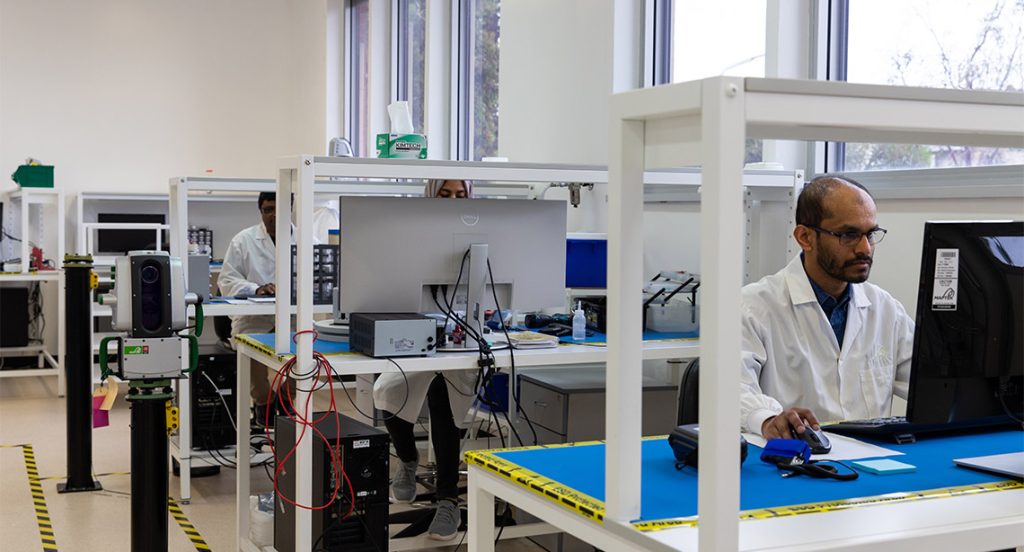
Co-located across two buildings 5km southeast of the Adelaide CBD in South Australia, the Research & Development and Production teams have grown to nearly 30 people.
Electronics Engineer Mark Pfitzner has been with Maptek since 2001 when work on the scanners began.
‘We responded to a gap in the market – there was no terrestrial survey system available with the performance, accessories and robustness to deal with the harsh nature of mining,’ Pfitzner said.
The Maptek team embarked on a program of R&D and after four years had built a laser scanner that, combined with our point cloud processing and modelling software, would provide surveyors with a safe, accurate, reliable measurement system.
‘The results convinced us we were ready to start manufacturing. The scanner technology was too complex to outsource effectively so having our manufacturing and R&D teams on the same site really assisted in getting the project off the ground,’ continued Pfitzner, the R&D Team Leader.

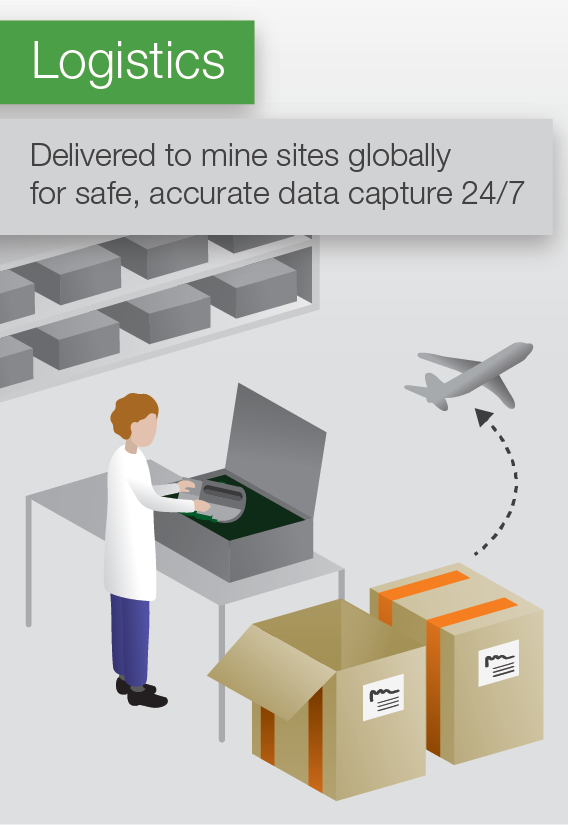
Precision matters
Producing high-end technical instrumentation, with ranges of up to 2400m, accuracy of +/- 4-5mm and the robustness required for the mining environment, presents unique challenges.
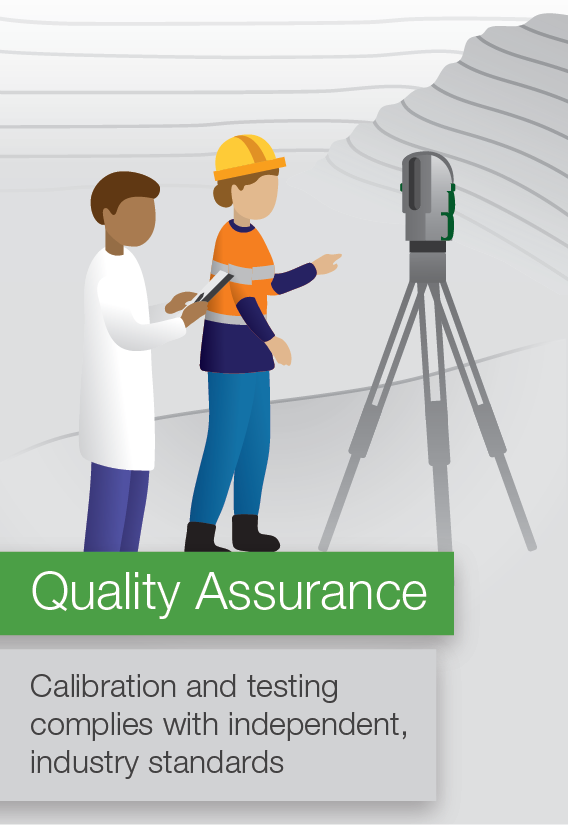
‘Maptek indoor and outdoor testing ranges are independently verified by third-party surveyors using calibrated equipment to ensure the accuracy of data capture,’ said Quality & Production Engineering Manager Quentin Lewis.
The production building features long corridors – one measuring 80m – for rangefinder calibration.
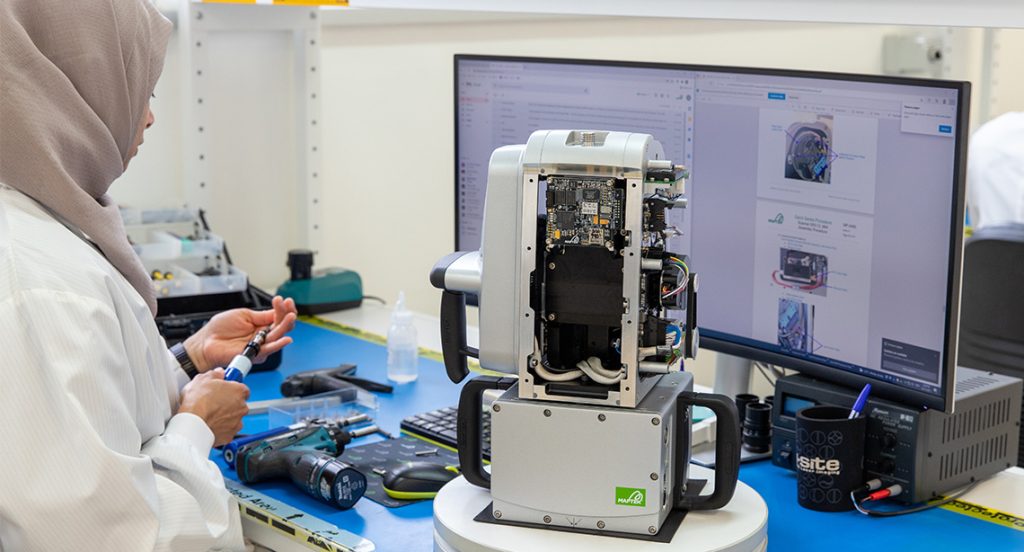
Warranty servicing follows more than 190 steps to ensure continuous scanner operation at the highest standard. Range checks and calibration are key components, and during servicing, software and mechanical upgrades developed during the life of the scanner are applied as appropriate.
Maptek employs fully qualified specialists and follows rigorous quality assurance and quality control processes.
‘Dedication to technical review and improvement led to standardisation of our processes and systems to ensure we consistently produce a quality product that allows customers to survey and monitor their operations 24/7,’ Lewis said.
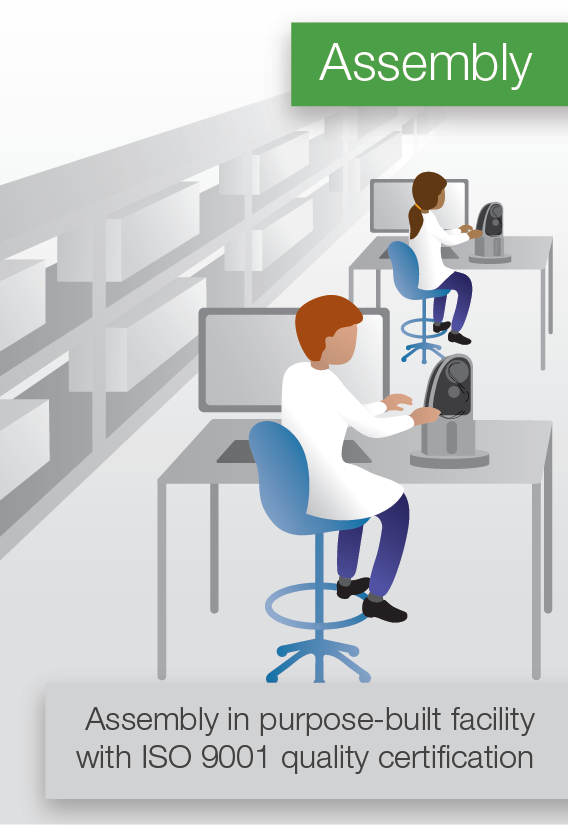
Achieving ISO 9001 Quality Management System certification in 2013 demonstrates our commitment to quality.
Maptek is currently expanding the scope of certification to include all Australian operations.
Dedicated workforce
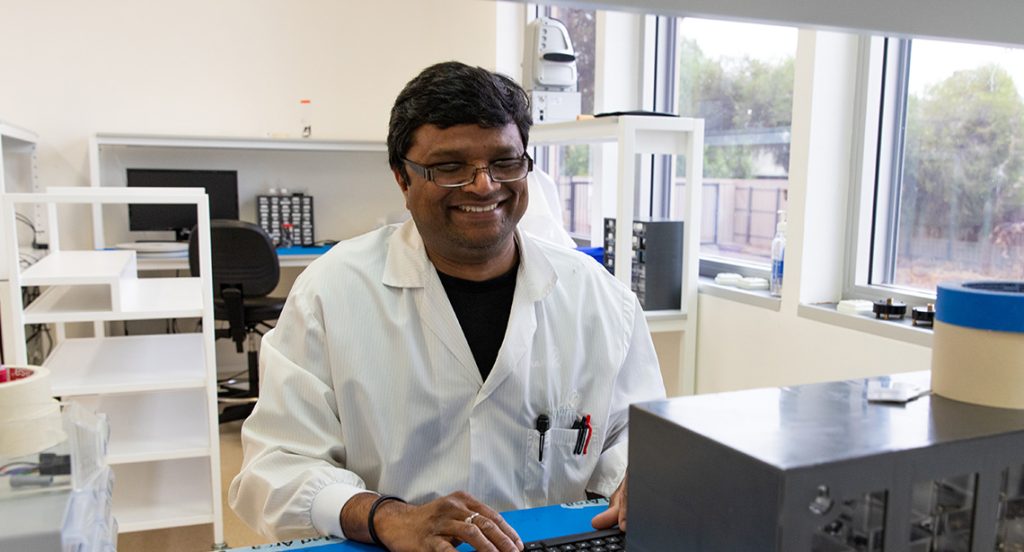
Skilled technicians, specialised engineers, and procurement and logistics professionals fill the Production and R&D teams. All staff adhere to laser safety practices and regulated standards. Routine training ensures skills for optical handling, soldering and electrostatic discharge remain current.
Scanner cables are built and tested, electronics technicians inspect and test all of the PCBs (printed circuit boards) and technicians collimate and align lasers to the required specifications.
The production group works with various modules and assemblies, including optical alignment, bearing assemblies, electronics, cable looms and connectors throughout the manufacturing process.
Maptek added the Sentry DMS transportable trailer for laser-based surface monitoring software in 2017, requiring an expanded workforce and skillset to handle onboard generators, solar power systems and an industrial electrical cabinet.
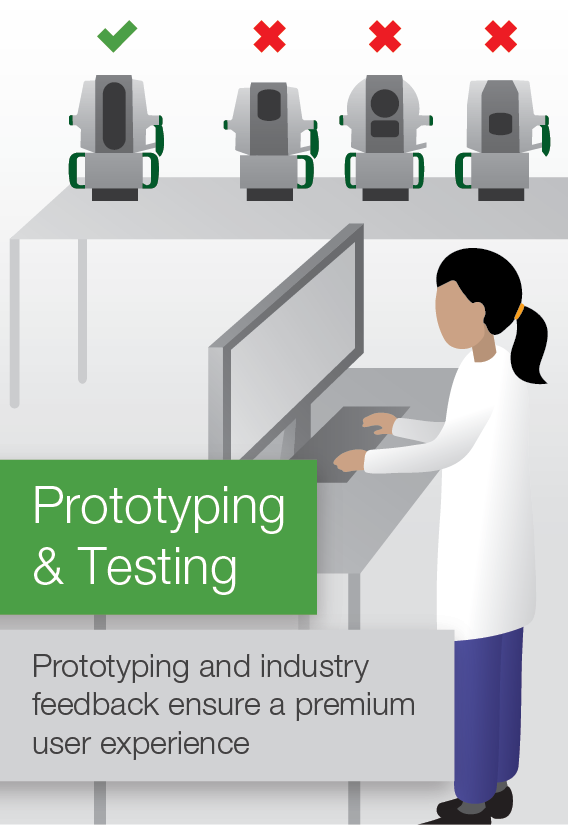
In-house 3D printing is used to quickly create prototypes, jigs and fixtures, and future R&D will aim to to include more 3D printed components into product development.
The transition from concept and design to actual production covers many processes and disciplines. Testing and pre-production trials transition to production runs in manufacturing, requiring extensive team crossover.
Mechanical, electronic, computer systems, software and optical engineers in the R&D team work closely with Production to fine tune the scanner systems.
Ongoing improvement
‘Our laser scanners have been in the field since 2005, which means a range of systems and accessories continue to require support and warranty checks,’ said Lewis.
Ongoing R&D leads to replacement models with the latest technologies that deliver higher specifications.
Customer feedback plays a key role in determining enhancements and introducing new features.
‘Our technical staff are attuned to what’s happening on site and provide input for improving the user experience,’ Pfitzner said.
Input from production staff around system operation and ease of assembly and disassembly for servicing is also important for making survey hardware that is field-robust and easily maintained.
‘I like knowing that Maptek products are improving safety and efficiency for our users,’ Lewis concluded.
Satisfaction comes from seeing how 3D spatial mapping has enhanced measurement and analysis of mine topography and infrastructure.
The entire manufacturing group takes pride in delivering a quality product, sharing the simple goal of continual improvement and better outcomes for customers.
- Maptek laser imaging systems are designed, built and calibrated under ISO 9001 Quality Management System
- More than 190 checks are followed during warranty servicing to ensure accurate, reliable survey data
- Customer feedback and input from production staff combine to determine system enhancements and new features

